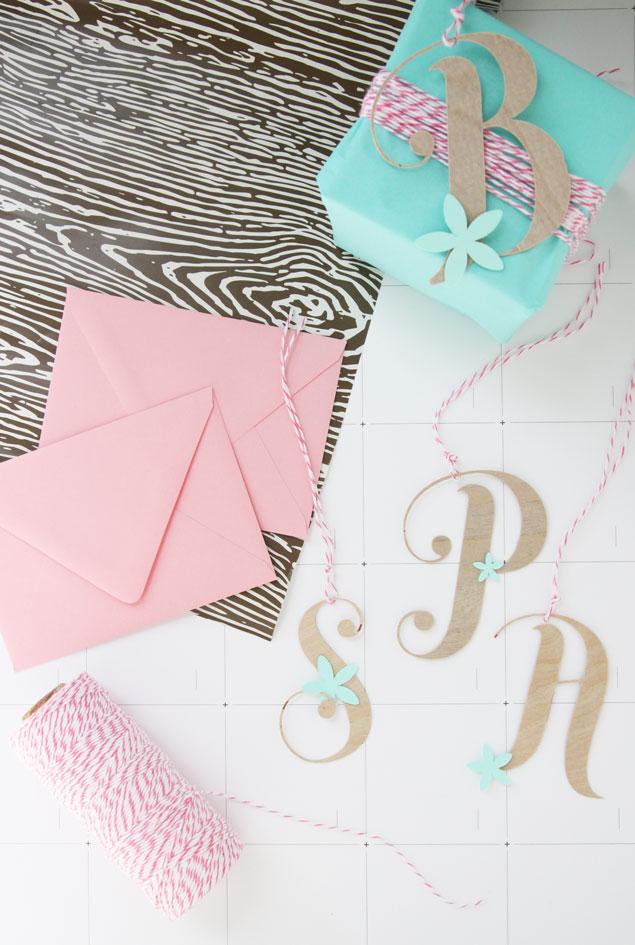
When it comes to gifts, I’m way more excited about the gift wrap than I am about the gift. Christmas is like my own personal Olympics of gift wrap. Nothing makes me happier than a cohesive look and interestingly wrapped presents. This months’ Cricut Design Space challenge was all about celebrations, whether it be birthdays, weddings, showers, etc., and our team theme was Floral + Woodland. So I decided to harness my love of monograms and gift wrap to create personalized birch wood hang tags.
This was a relatively simple DIY, although it took a little trial and error to get the correct settings on my Cricut Explore, so definitely buy more of the plywood sheets than you think you’ll need until you can get it just right.
Supplies needed:
- Cricut Explore (obvs)
- Cricut Explore Deep Cut Blade
- Birch plywood sheets (super thin at 1/64″ x 6″ x 12″ and I found it at Michael’s in the wood section)
- Baker’s twine
- A favorite font
- Extra paper in the color of your choice to print the flowers
Steps:
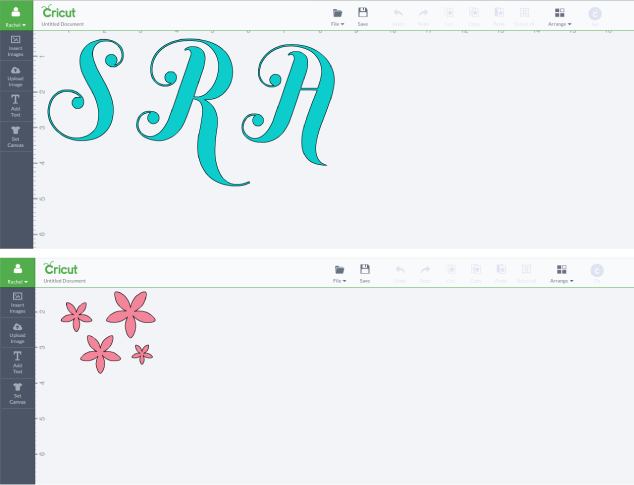
1. In Design Space, I typeset a few different individual letters in one of my favorite fonts, Buttermilk, that were to be cut out of the birch wood, as shown in the first screen capture below (the following one is the flowers that I used). Make sure you’ve installed your Deep Cut Blade in the machine before you cut anything.
2. You’ll set up your Custom cut – in this case, after experimenting with cutting depths, I chose the most pressure and had it cut several times over. Even then, once it made its final run-through, I had it re-cut everything again to ensure that it would pop right out of the wood. Keep in mind that this wood is super brittle — it will snap easily, so don’t hesitate to let the machine cut it over and over again a few times just to get it right. It’s super precise.

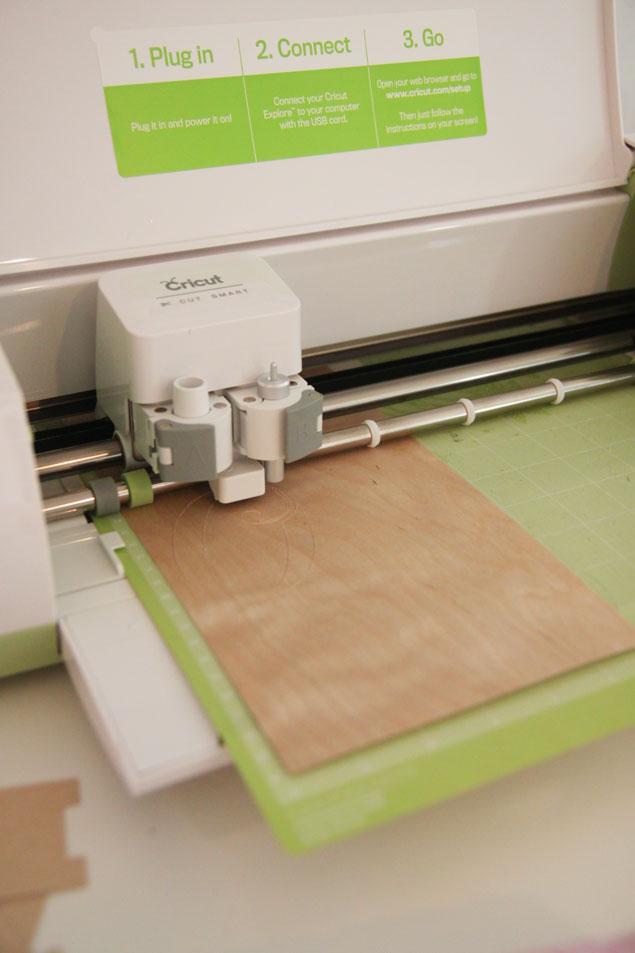
3. Once it’s done, carefully pop it off of the sticky mat. You may or may not need to use an Xacto blade or fine scissors to trim any excess pieces of the wood off (it kind of shreds a bit in places). Mostly I did not need to do this.
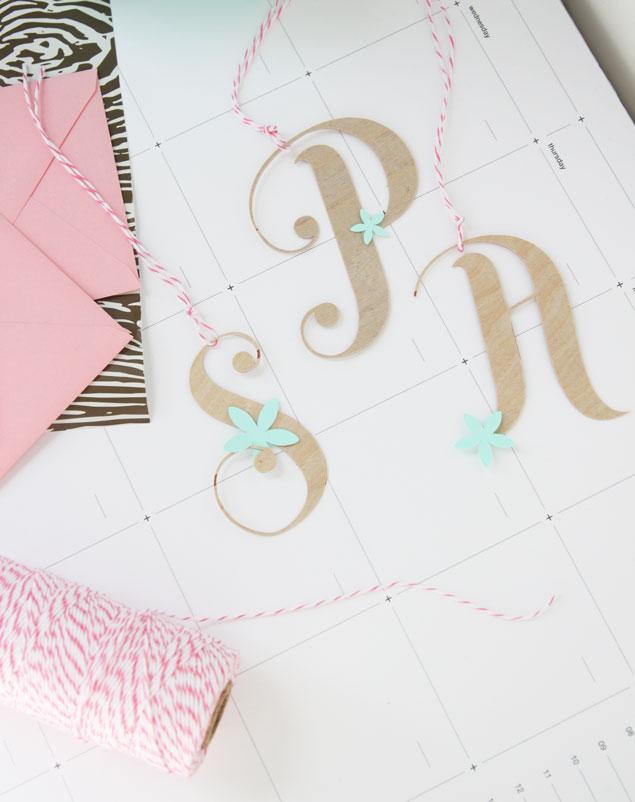
4. Go back to Design Space and cut out some tiny flowers on just regular paper and apply with double-stick tape or a dot of glue. Or if you prefer the look of the plain wood, that’s great too.
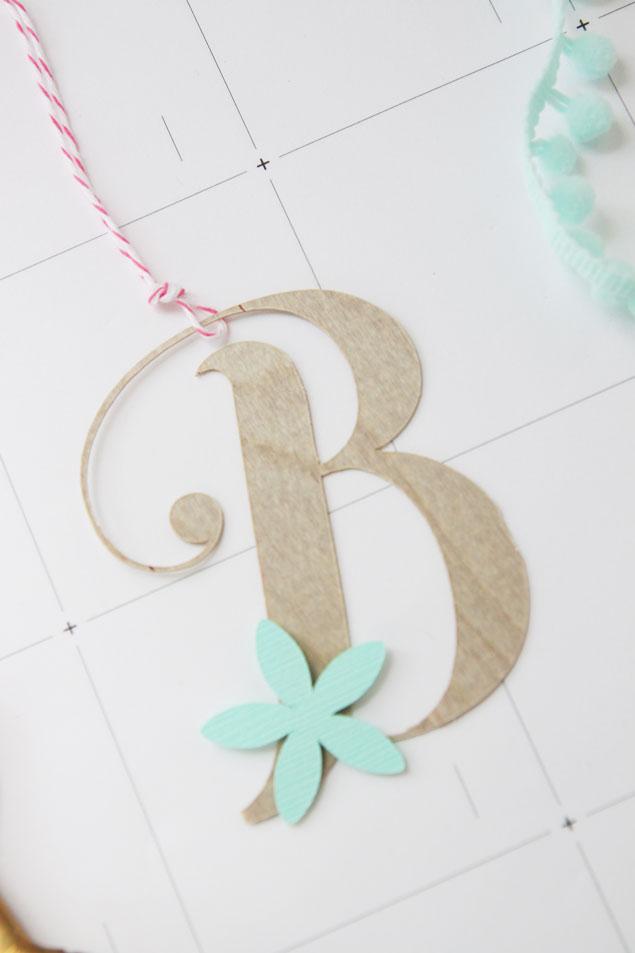
5. Tie your baker’s twine on and voila – you have a gorgeous little monogrammed hang tag, the perfect embellishment for any present. I’m also imagining how FABULOUS these would be as Christmas ornaments ( OMG IN GLITTER PAPER YESSSSSS )
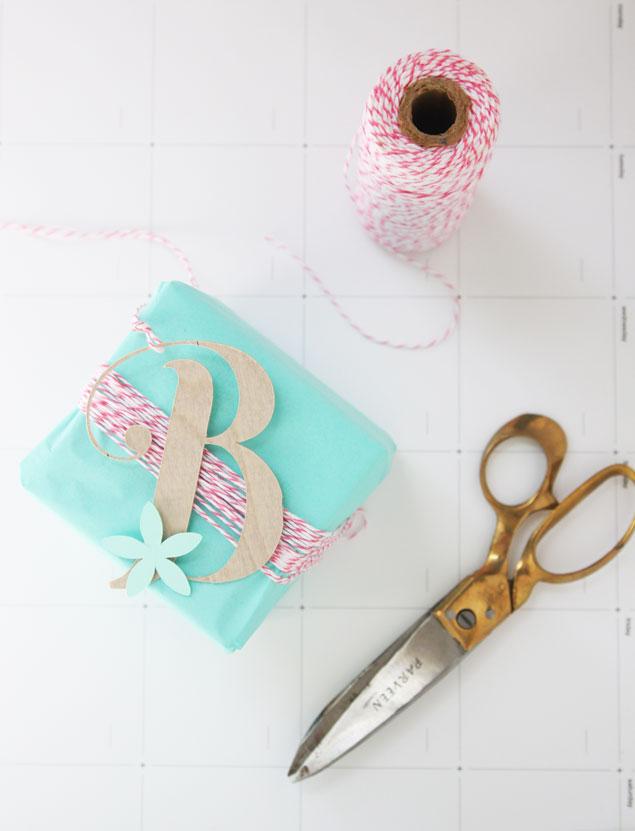
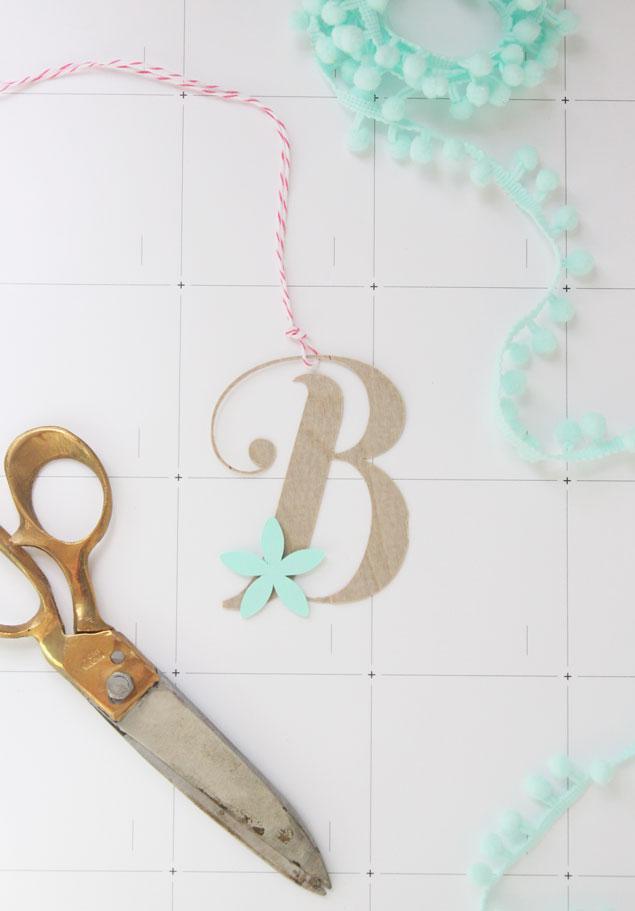
Pretty, sweet, and the kind of perfect touch to make your gift recipient feel extra special.