So last week I gave you guys a hint about some of the fun projects I’ve been working on with Cricut. I first ran into them at Alt Summit this past January when they debuted their new Cricut Explore machine. My interest was piqued because I was familiar with their competitor, the Silhouette machine. I never pulled the trigger on the Silhouette because I’d heard mixed reviews. But from all evidence, the new Cricut Explore was THE die-cutting machine to have.
In case you’re not familiar with what a die cutter does, this machine is about the size of a desktop printer and can cut custom shapes (either that you’ve created yourself in a program like Adobe Illustrator or chosen from stock imagery) into practically any material. Leather, paper, vinyl, iron-on transfers, foam core – the list goes on and on and on. The potential for amazing one-of-a-kind creations is super exciting for a creative person like me.
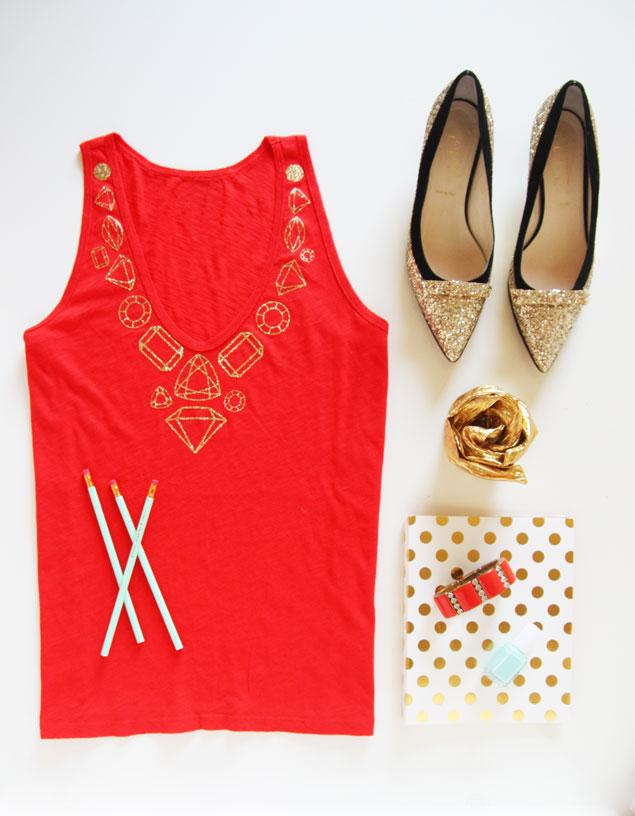
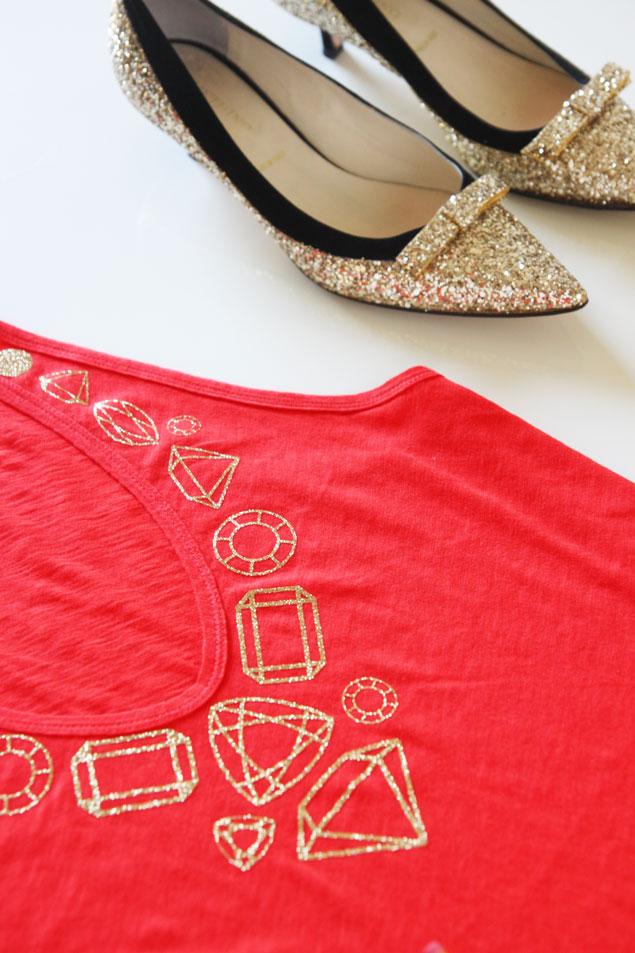
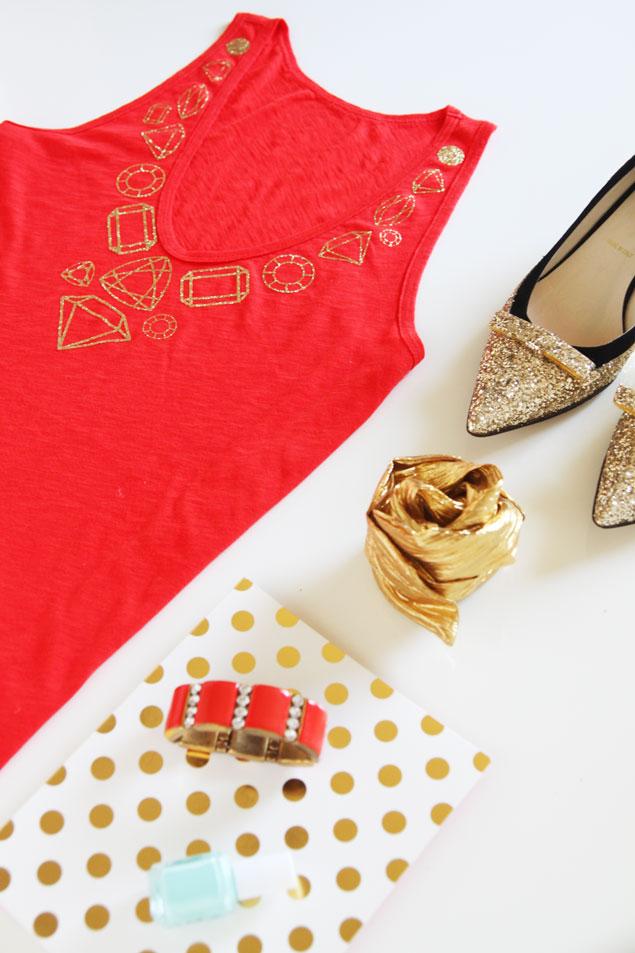
So for the next few months, I’m working with a team on a series of projects called the Cricut Design Space Star showing how to use the Explore in a variety of mediums. First project? Geometric patterns in fashion! And with me being a rhinestone fanatic I thought I would go back to my tshirt designing roots and design a gold statement necklace tank.
SUPPLIES:
- Cricut Explore
- Tank top or tee of your choice (mine is from J.Crew)
- Gold iron-on glitter
- Tweezers
- Weeder
- Iron and ironing board
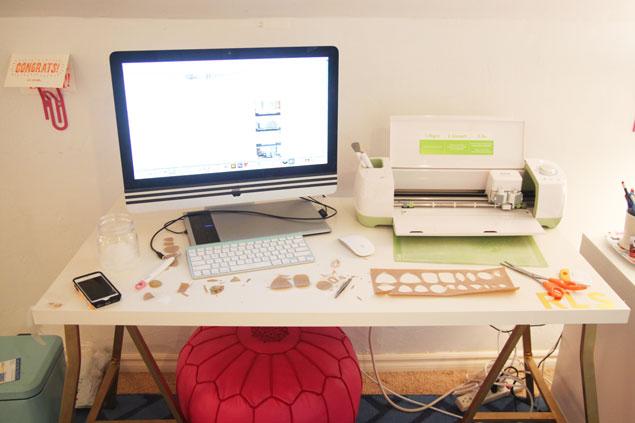
This was a fairly simple project to do, although a bit time-consuming due to the detail of each of the gemstones. I designed them in Illustrator and imported them easily into the Cricut Design Space program which is pretty intuitive and easy to use. From there, I adjusted the sizes and prepared my cutting mat by applying the iron-on glitter front side down. The machine cut out the shapes pretty quickly – you can see the leftover pieces of glitter iron-on transfer on my desk below.
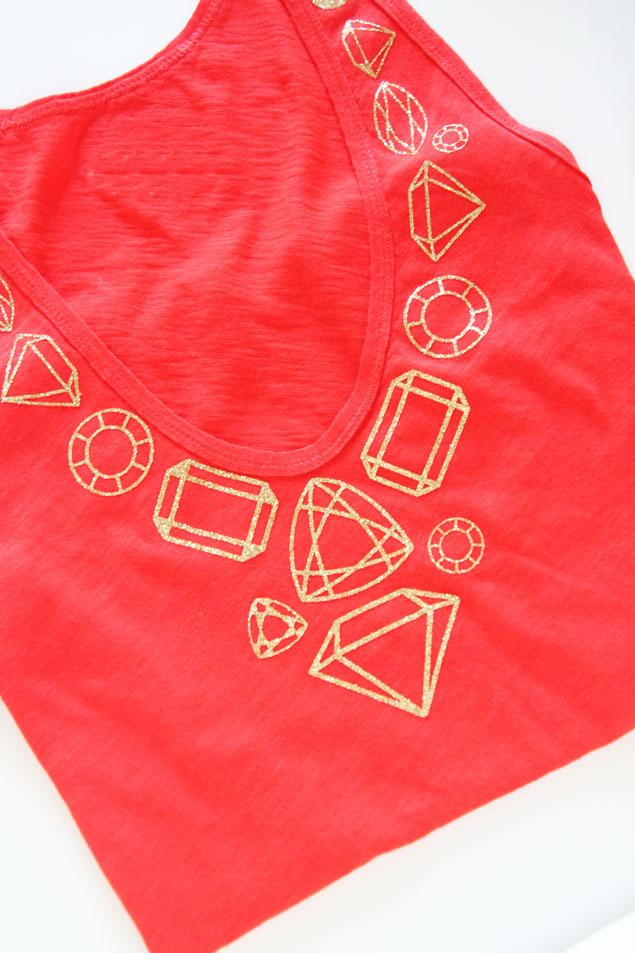
Now came the time consuming part. I cut out each individual gemstone and then used my weeder tool and tweezers to remove the interior of each gemstone design to leave only the outlines. Since some of these were pretty small, it was time consuming as I worked to get out the teeny tiny pieces. This is when the tweezers were SUPER handy.
Finally, I laid out each individual gemstone onto the tank and ironed them on. This took maybe 5 minutes total – it was pretty quick! The transfer tape peeled right off and left a perfect glittery rhinestone design.
If this baby is a girl, you better believe I’ll be making some glittery onesies for her. IT WILL BE ON.

And there you have it – a super fun, girly take on a rhinestone statement necklace!